Cleric uses a mace for magic damage and party recovery. Healing Light heals you and the lowest-HP party member in range; Radiant Recovery heals and removes a debuff. Equip Summon Resurrection separately when your group needs revival.
Official Cleric class artwork.
Watch the attack animations, movement and weapon style.
Watch on YouTubeRole and reasons to choose it
Choose Cleric if you want to watch party health while contributing debuffs and damage. Healing, cleansing and resurrection solve different problems: healing repairs lost HP, cleansing removes a removable harmful effect, and resurrection restores a fallen party member.
Compare Chanter for melee support and mantras. A Cleric has direct recovery tools, but an ally outside their range or dying to a bypassing mechanic still needs repositioning or a mechanic response. The class roster compares the other jobs.
Active skills and triggers

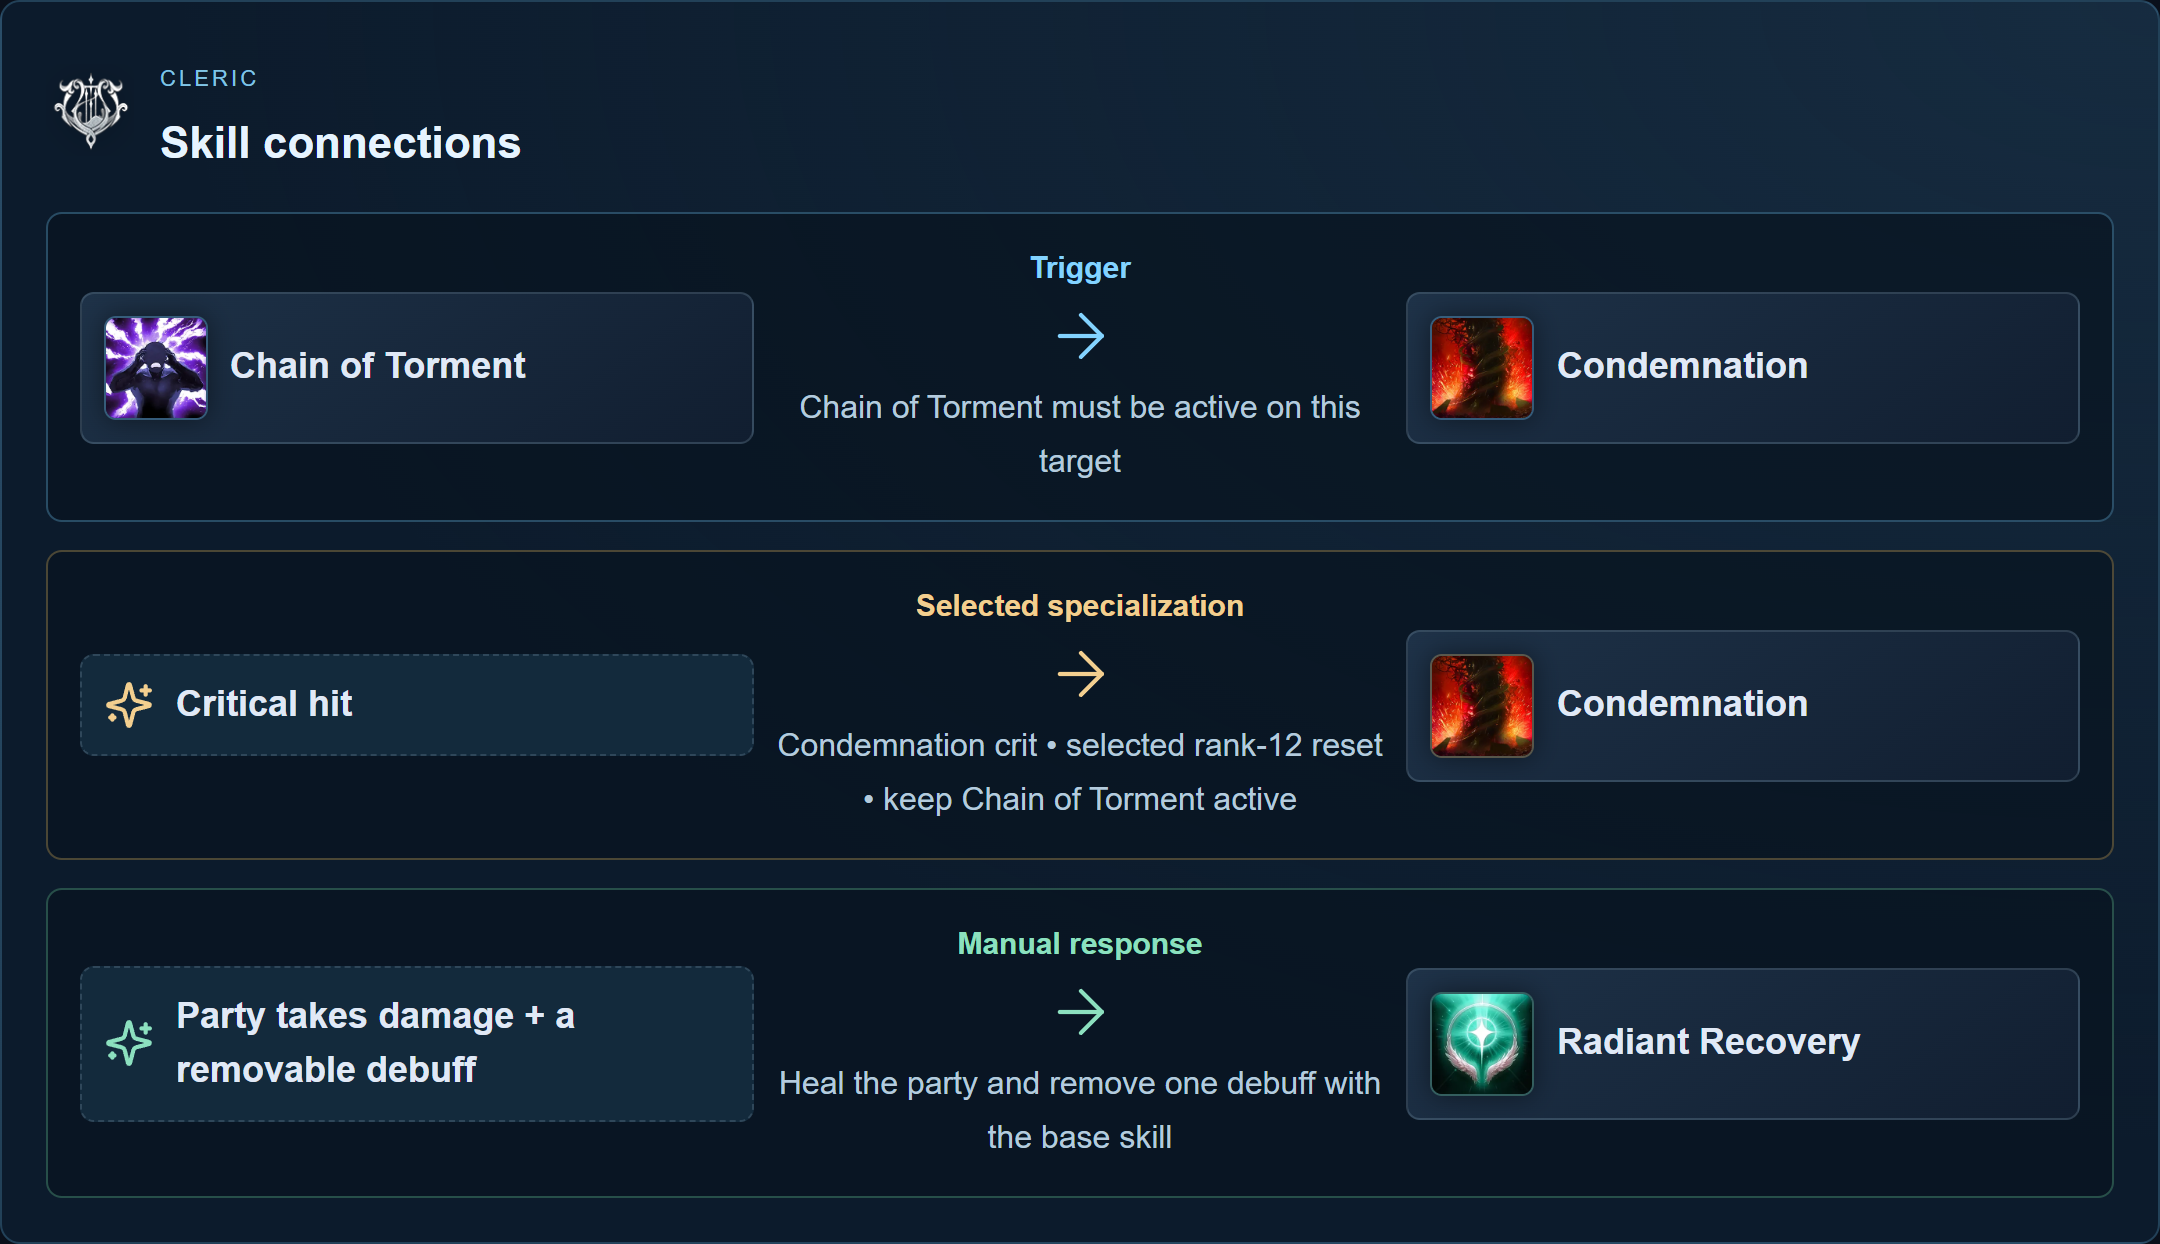
Follow the arrow to see what opens or improves the next skill. Select a skill for its full explanation.
Condemnation crit • selected rank-12 reset • keep Chain of Torment active
Heal the party and remove one debuff with the base skill
| Skill | Use and trigger |
|---|---|
 Earth's Retribution Earth's Retribution | Earth’s Retribution restores MP. Its Discharge cooldown option brings Bolt back sooner. |
 Judgment Thunder Judgment Thunder | Judgment Thunder hits around the target. Use it when healing is stable and the damage window is safe. |
 Debilitating Mark Debilitating Mark | Debilitating Mark reduces enemy damage output and applies damage over time. Its defense-reduction option adds offense. |
 Divine Aura Divine Aura | Divine Aura stays where summoned and attacks a selected target. Place it where it can keep contributing during the fight. |
 Chain of Torment Chain of Torment | Chain of Torment reduces enemy damage tolerance and opens Condemnation on that target. Refresh the debuff before it expires. |
 Lightning Strike Scattershot Lightning Strike Scattershot | Lightning Strike Scattershot requires Stagger. Use it during a safe stagger window without delaying needed healing. |
 Light of Regeneration Light of Regeneration | Light of Regeneration provides party healing over time. Start it before damage accumulates, then add direct healing if needed. |
 Condemnation Condemnation | Condemnation requires Chain of Torment. A later critical-reset option changes how often you can repeat it. |
 Healing Light Healing Light | Healing Light heals you and the party member with the lowest HP in range. It is not a freely aimed single-ally heal. |
 Radiant Recovery Radiant Recovery | Radiant Recovery heals the party and removes one debuff by default. Keep it ready for removable harmful effects. |
 Bolt Bolt | Bolt is charged area damage. Faster casting helps complete it between mechanics; cancel offense for urgent recovery. |
 Defiance Defiance | Removes Stun, Knockdown, Airborne, Grab, Frost and Fear, then grants status immunity for 5s. Cooldown reduction does not affect it; keep this control break manual. |
Early skill and passive priorities
Earth's Retribution restores MP, and its rank-12 Discharge option reduces Bolt's cooldown. Chain of Torment is the condition for Condemnation; select Condemnation's rank-12 critical-reset option only for a loop that can actually produce critical hits.
Radiant Recovery already removes one debuff. At rank 8 you can choose removal of up to two, an additional use or a shorter cooldown. These are different choices. Healing Light heals you and the lowest-HP party member in range rather than a freely selected ally. Light of Regeneration covers continuing party damage over time.
Healing Enhancement converts Attack into Heal Boost, so attack investment also affects recovery. Radiant Benediction heals nearby party members when your attacks land, with a cooldown. Keep attacking when the group is stable, but do not wait for a passive heal during an urgent recovery need.
Choose Stigmas for the encounter
| Choice | Use and condition |
|---|---|
| Summon Resurrection | Revives a fallen party member; its later faster-cast option helps reduce exposure. |
| Light of Protection | Party offense and tolerance. Its damage boost does not stack with Chanter’s Undefeated Mantra. |
| Earth Punishment / Noble Aura | Damage over time / a following damage summon. Use damage slots while recovery is sufficient. |
| Absolution | Party heal and removal of multiple debuffs; useful when one removal is not enough. |
| Benevolence / Yustiel’s Power | Continuing party healing / party damage tolerance. Choose for sustained loss or incoming damage. |
| Salvation | Brief personal immunity; it does not block certain powerful attacks or replace party healing. |
Manual opener and combat loop
- Start Light of Regeneration before sustained party damage. Keep Radiant Recovery available for removable debuffs.
- Apply Debilitating Mark and Chain of Torment; add Earth Punishment if equipped. Use available Condemnation while the party is stable.
- Use Bolt in a safe charge window and Earth’s Retribution between larger attacks. Stop damage immediately for urgent healing or cleanse.
- If an ally dies, move to a safe casting position and use equipped Summon Resurrection. Do not become a second casualty while reviving.
Gear and Daevanion decisions
First fix missed attacks and interrupted healing. Attack supports damage and Healing Enhancement; cooldown improvements provide more recovery opportunities. Add survival when your own deaths stop all healing, and critical investment only after a reset-based loop reliably crits.
On Daevanion, choose the heal or damage specialization that addresses the actual failure: Radiant Recovery for cleanse/cooldown choices, Healing Light for recovery and Earth's Retribution or Condemnation for the selected damage loop. The Cleric build guide gives a dedicated setup workflow and replacement choices.
Adjustments and troubleshooting
My selected ally did not get Healing Light: its default party target is the lowest-HP member in range. Position for coverage and use the recovery tool that fits the situation.
The debuff remains: some effects are not removable, one cast removes only its allowed number, and an ally can be outside range. Use extra cleansing only when it solves that problem.
Condemnation stays unavailable: apply Chain of Torment to the current target. A reset still needs the selected option and a critical hit.
A Chanter joins: compare Undefeated Mantra and Light of Protection before duplicating the damage boost. For solo play, keep damage and self-recovery; for PvP, preserve healing access while moving and prepare personal control breaks.
Complete skill list
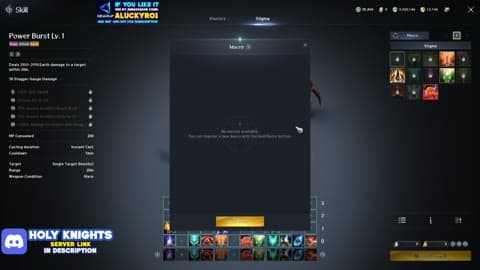
Learning a Stigma skill does not add an equipped slot. Upgrades use their respective skill or Stigma points; select specializations separately after unlocking them.
Active skills (12)
| Skill | Character level required |
|---|---|
| Earth's Retribution | 1 |
| Judgment Thunder | 1 |
| Debilitating Mark | 1 |
| Divine Aura | 3 |
| Chain of Torment | 4 |
| Lightning Strike Scattershot | 5 |
| Light of Regeneration | 7 |
| Condemnation | 8 |
| Healing Light | 10 |
| Radiant Recovery | 12 |
| Bolt | 14 |
| Defiance | 16 |
Passive skills (10)
| Skill | Character level required |
|---|---|
 Warm Benediction Warm Benediction | 1 |
 Empyrean Lords' Benediction Empyrean Lords' Benediction | 6 |
 Empyrean Lord's Grace Empyrean Lord's Grace | 9 |
 Healing Enhancement Healing Enhancement | 11 |
 Immortal Veil Immortal Veil | 13 |
 Heal Block Heal Block | 15 |
 Prayer of Concentration Prayer of Concentration | 17 |
 Earth's Grace Earth's Grace | 21 |
 Survival Willpower Survival Willpower | 23 |
 Radiant Benediction Radiant Benediction | 25 |
Stigma skills (13)
| Skill | Character level required |
|---|---|
 Power Burst Power Burst | 22 |
 Absolution Absolution | 22 |
 Benevolence Benevolence | 22 |
 Prayer of Amplification Prayer of Amplification | 22 |
 Summon Resurrection Summon Resurrection | 22 |
 Earth Punishment Earth Punishment | 22 |
 Salvation Salvation | 22 |
 Root Root | 22 |
 Light of Protection Light of Protection | 22 |
 Yustiel's Power Yustiel's Power | 22 |
 Voice of Doom Voice of Doom | 22 |
 Assault Mark Assault Mark | 22 |
 Noble Aura Noble Aura | 22 |