
Templar combines a sword and shield with threat, charged damage and party protection. Choose it if you want to keep enemies positioned for the party while reacting to incoming attacks. Its damage depends on using short follow-up windows rather than simply waiting behind a shield.
Official Templar class artwork.
Watch the attack animations, movement and weapon style.
Watch on YouTubeChoose Templar for frontline control
Your party job adds three decisions to the damage loop: where the enemy faces, when to use protection and when to recover threat. Keep the enemy's front directed away from allies who need its back. A gap closer that moves the boss out of their attacks can cost the group more than it adds to your damage.
Gladiator also supplies frontline damage and block-related party benefits. Choose Templar for the shield-trigger loop and its larger selection of protection and damage-sharing tools. Compare the full class roster before committing to a role.
Active skills and their trigger conditions
Shield Smite and Warding Strike each open Judgment briefly. Shield Rush and the Stigma Doom Shield also open it. Use the follow-up while the window is active; activating several triggers together does not make their windows accumulate.

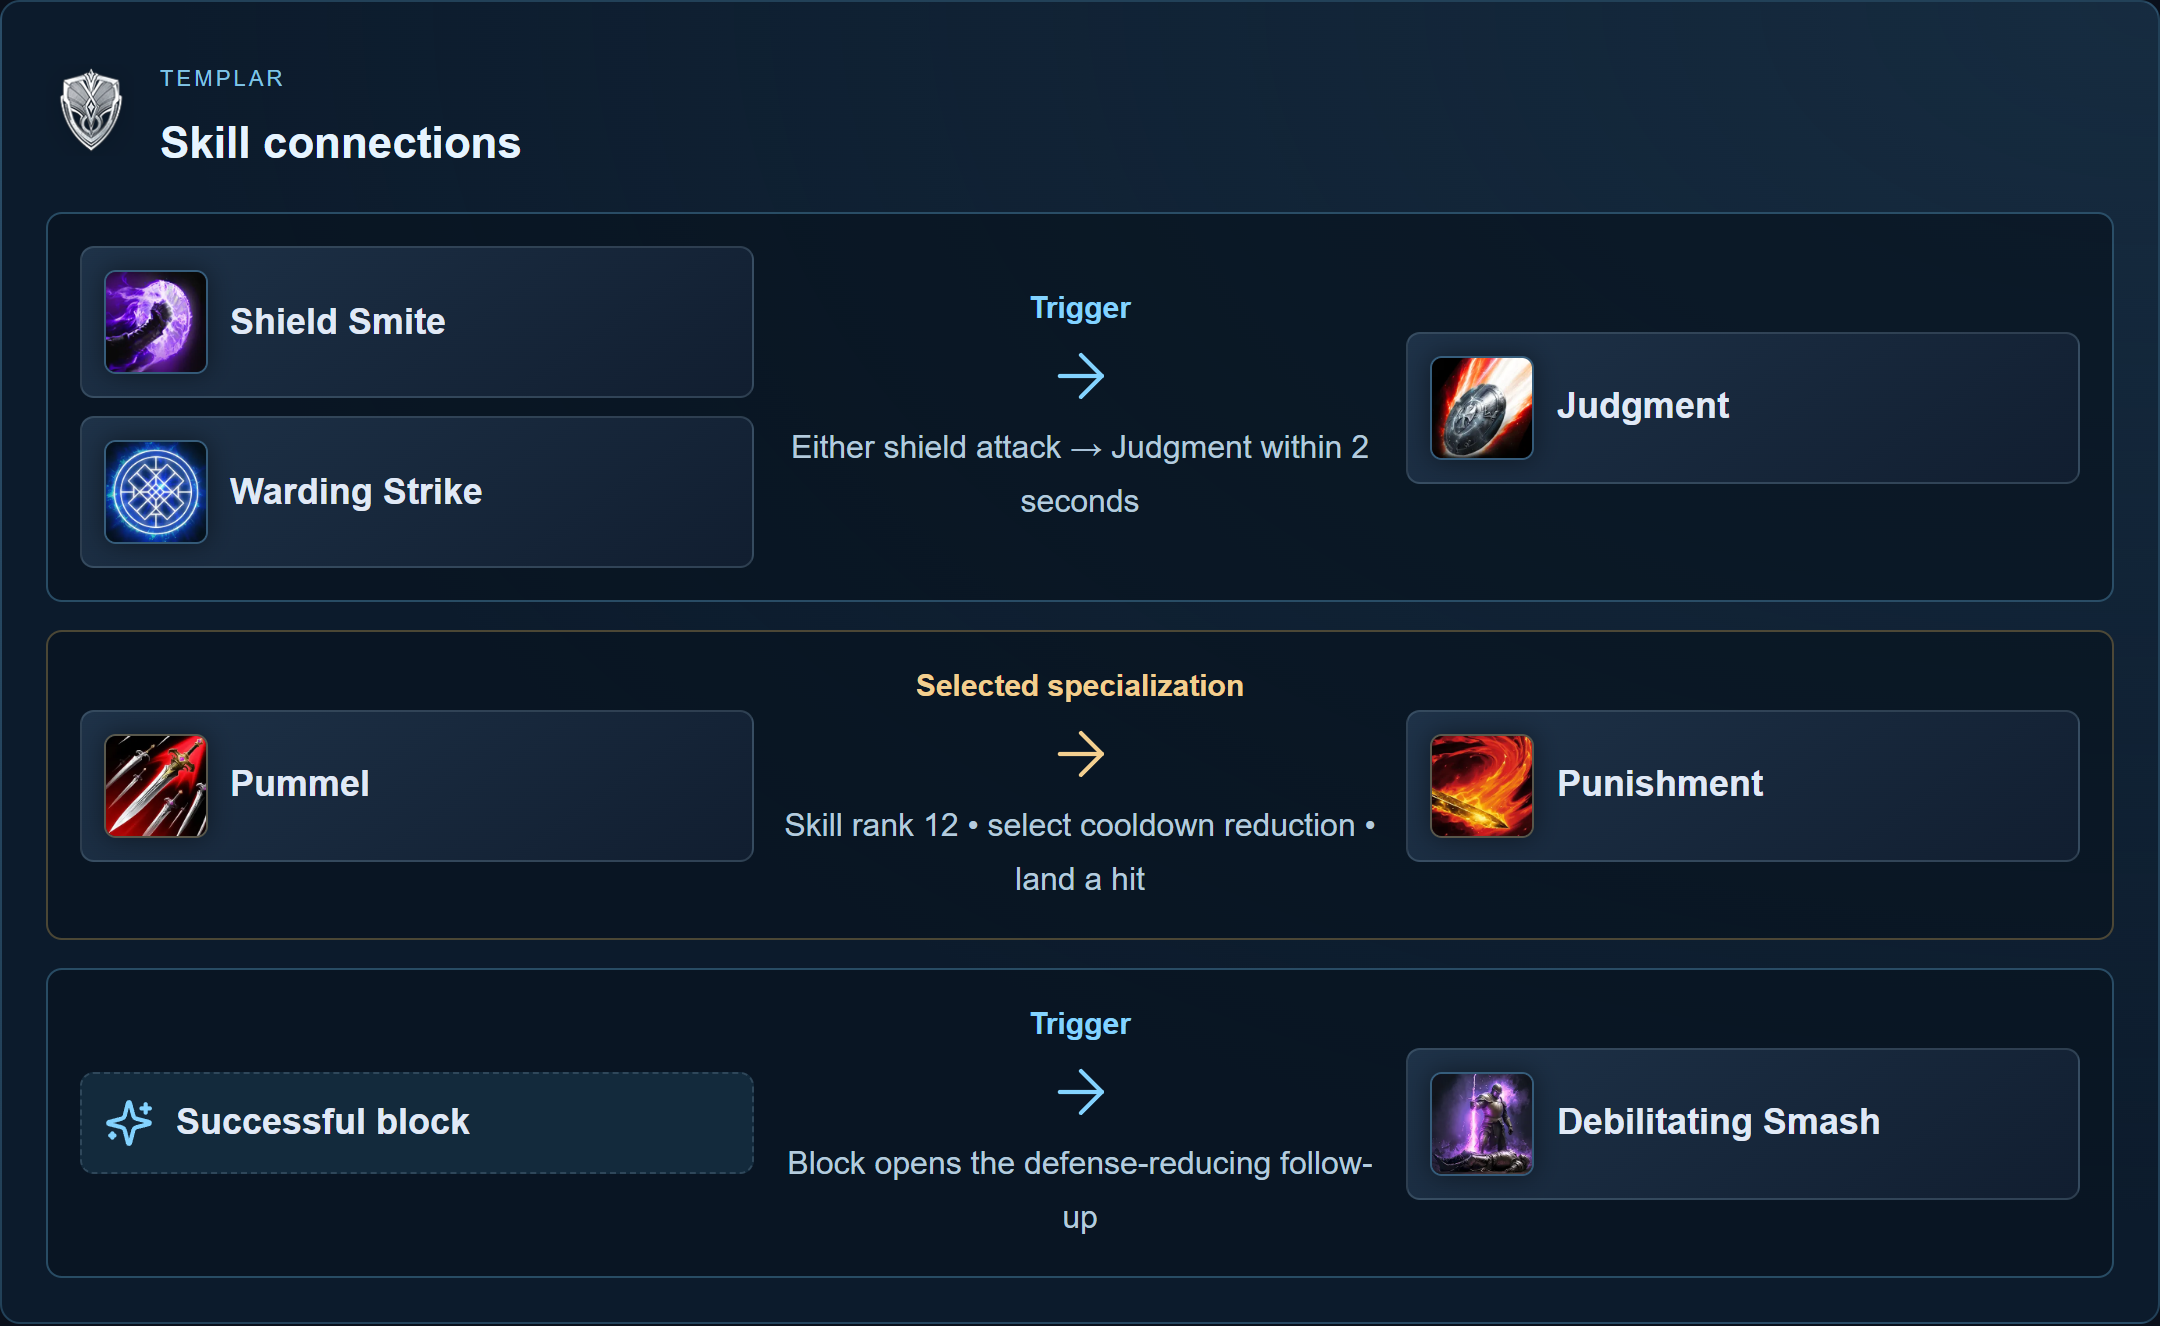
Follow the arrow to see what opens or improves the next skill. Select a skill for its full explanation.
| Skill | Use and trigger |
|---|---|
 Vicious Strike Vicious Strike | Vicious Strike restores MP and builds threat. Its rank-12 option reduces Warding Strike cooldown on hit. |
 Pummel Pummel | Pummel builds threat. Select its Punishment cooldown reduction when building that damage loop. |
 Poach Poach | Poach pulls a vulnerable target. Its immunity option moves you to an unpullable target; its kill reset helps farming. |
 Shield Smite Shield Smite | Shield Smite opens Judgment for a short window. Its MP option removes the cost and restores MP on hit. |
 Judgment Judgment | Follow up within 2s of Shield Smite, Warding Strike or Shield Rush, or within 3s of Doom Shield. Spend this window before activating another trigger. |
 Flash Rampage Flash Rampage | Flash Rampage requires a staggered target. Spend the stagger window on this attack rather than waiting for normal control. |
 Debilitating Smash Debilitating Smash | Debilitating Smash opens after Block, or through Shield Smite’s trigger option. It reduces enemy defense. |
 Warding Strike Warding Strike | Warding Strike heals you, adds damage tolerance and opens Judgment. Vicious Strike can shorten its wait. |
 Shield Rush Shield Rush | Shield Rush requires Dodge or flight, closes distance and opens Judgment. Avoid moving a boss away from your group. |
 Annihilate Annihilate | Annihilate requires Stun or Knockdown, or a proc against control-immune targets. Choose its immunity-damage option for bosses. |
 Punishment Punishment | Punishment is a charged area attack that grants Executor. Faster casting or mobile casting helps finish it safely. |
 Defiance Defiance | Removes Stun, Knockdown, Airborne, Grab, Frost and Fear, then grants status immunity for 5s. Cooldown reduction does not affect it; keep this control break manual. |
Spend early points on a working loop
Choose the MP-restoring option on Vicious Strike while mana limits your attacks. At skill rank 12, its Warding Strike cooldown reduction connects regular attacks to recovery and another Judgment trigger. Shield Smite's rank-8 resource option removes its MP cost and restores MP on a hit.
Pummel's rank-12 option reduces Punishment's cooldown on hit. Punishment's faster-cast option helps complete its charge before movement is required; its rank-12 mobile option lets you change position while using it. Select the effects after unlocking them.
For passives, Fury gives the party a damage buff after you block; Insulting Roar adds threat and an attack buff after a front attack. Ironclad Defense improves defense and endurance. Fury's party damage boost overlaps with Gladiator's Experienced Counterstrike, so their presence does not multiply that same benefit.
Stigmas: damage, threat and protection
| Choice | Use it for | When to change the slot |
|---|---|---|
| Taunt | Threat and an enemy attack/accuracy debuff | Keep when responsible for holding the enemy |
| Doom Shield | Approach, protection and a Judgment trigger | Preserve manual control over where you move |
| Executing Blade | Damage and a defense debuff | Use inside a safe attack window |
| Battlefield Banner | Converts defense into a temporary attack benefit | Coordinate with Punishment rather than spending it during movement |
| Shield of Protection / Nezekan's Shield | Timed block / party shielding | Replace a damage slot when incoming damage is the failure |
| Second Skin / Comrade in Arms | Personal damage tolerance / sharing an ally's damage | Damage sharing adds damage to you; use it with enough survival |
These are choices for the available slots, not six simultaneously equipped skills. Start with the threat and protection the encounter needs, then fill the remaining slots with useful damage. An offensive beginner setup does not guarantee that a harder encounter needs no defense.
A manual attack loop with room to tank
- Approach and establish the enemy's position. Use Taunt when you need its threat and debuff.
- Shield Smite → Judgment. Use Warding Strike → Judgment in the next available window.
- Use Battlefield Banner when equipped, then charge Punishment during a safe interval. Resume Vicious Strike and Pummel to feed the selected cooldown reductions.
- Use Annihilate when its condition appears; use Flash Rampage during Stagger. Interrupt the damage loop for a block, movement or party protection.
Keep Taunt, protection and Defiance independent of any repeating damage chain. Judge a block by the enemy attack timing; a long chain cannot decide which attack deserves your defensive button.
Gear and Daevanion decisions
Prioritize enough accuracy to land the attacks that feed cooldowns. Choose routes to Vicious Strike, Pummel, Shield Smite and Punishment when they unlock the next useful specialization. Compare the shortest route to the same skill across boards before spending points.
After the loop works, combat speed and cooldown improvements increase useful attack opportunities. Add defense, HP or block investment when your tanking deaths prevent the group from completing the encounter. Critical-damage investment needs actual critical hits; measure that before giving it priority over a working trigger or protection skill. The builds guide covers skill ranks, point sources and saving a configuration.
Solo, party and PvP adjustments
Judgment does not appear: use one shield trigger manually, stay within attack range and use the short window. Confirm the skill itself is ready before spending another trigger.
Punishment is repeatedly canceled: choose a shorter or mobile cast, or wait for a longer safe window. A completed smaller attack contributes more than a charge you never finish.
The boss switches targets: use your threat tools, resume landed attacks and check positioning. Do not chase damage at the cost of the tanking job.
Solo pulls take too long: use Poach's kill reset for suitable small enemies and retain the offensive loop. Party damage is too high: replace a damage Stigma with the appropriate block, shield or tolerance tool. For PvP, revisit pulls, control resistance, Defiance and protection rather than copying a stationary boss opener.
Complete Templar skill list
Learning a Stigma skill does not add an equipped slot. Upgrades use their respective skill or Stigma points; select specializations separately after unlocking them.
Active skills (12)
| Skill | Character level required |
|---|---|
| Vicious Strike | 1 |
| Pummel | 1 |
| Poach | 1 |
| Shield Smite | 3 |
| Judgment | 4 |
| Flash Rampage | 5 |
| Debilitating Smash | 7 |
| Warding Strike | 8 |
| Shield Rush | 10 |
| Annihilate | 12 |
| Punishment | 14 |
| Defiance | 16 |
Passive skills (10)
| Skill | Character level required |
|---|---|
 Enhance Health Enhance Health | 1 |
 Warding Shield Warding Shield | 6 |
 Punishing Benediction Punishing Benediction | 9 |
 Ironclad Defense Ironclad Defense | 11 |
 Guarding Seal Guarding Seal | 13 |
 Impact Hit Impact Hit | 15 |
 Insulting Roar Insulting Roar | 17 |
 Fury Fury | 21 |
 Survival Willpower Survival Willpower | 23 |
 Block Pain Block Pain | 25 |
Stigma skills (13)
| Skill | Character level required |
|---|---|
 Empyrean Lord's Punishment Empyrean Lord's Punishment | 22 |
 Nezekan's Shield Nezekan's Shield | 22 |
 Shield of Protection Shield of Protection | 22 |
 Taunt Taunt | 22 |
 Armor of Balance Armor of Balance | 22 |
 Second Skin Second Skin | 22 |
 Doom Shield Doom Shield | 22 |
 Noble Armor Noble Armor | 22 |
 Executing Blade Executing Blade | 22 |
 Comrade in Arms Comrade in Arms | 22 |
 Grapple Grapple | 22 |
 Assault Fury Assault Fury | 22 |
 Battlefield Banner Battlefield Banner | 22 |