
Gladiator uses a greatsword for close-range damage and frontline defense. Build MP recovery with Keen Strike, connect Ruinous Blow to your attack window, and use Rage Burst to open Overhead Slam; keep Focused Block ready when tanking.
Official Gladiator class artwork.
Watch the attack animations, movement and weapon style.
Watch on YouTubeRole and reasons to choose it
Choose Gladiator if you want melee pressure with recovery, control and a tanking option. Its short-range attacks require returning to the enemy after mechanics. Templar offers a shield-focused loop and more party protection; Gladiator adds offensive buffs and conditional follow-ups.
When tanking, hold the enemy facing away from the party and keep a timed defensive control available. When another player tanks, take a safe damage position instead of competing for enemy movement. Compare the class roster for other roles.
Active skills and triggers

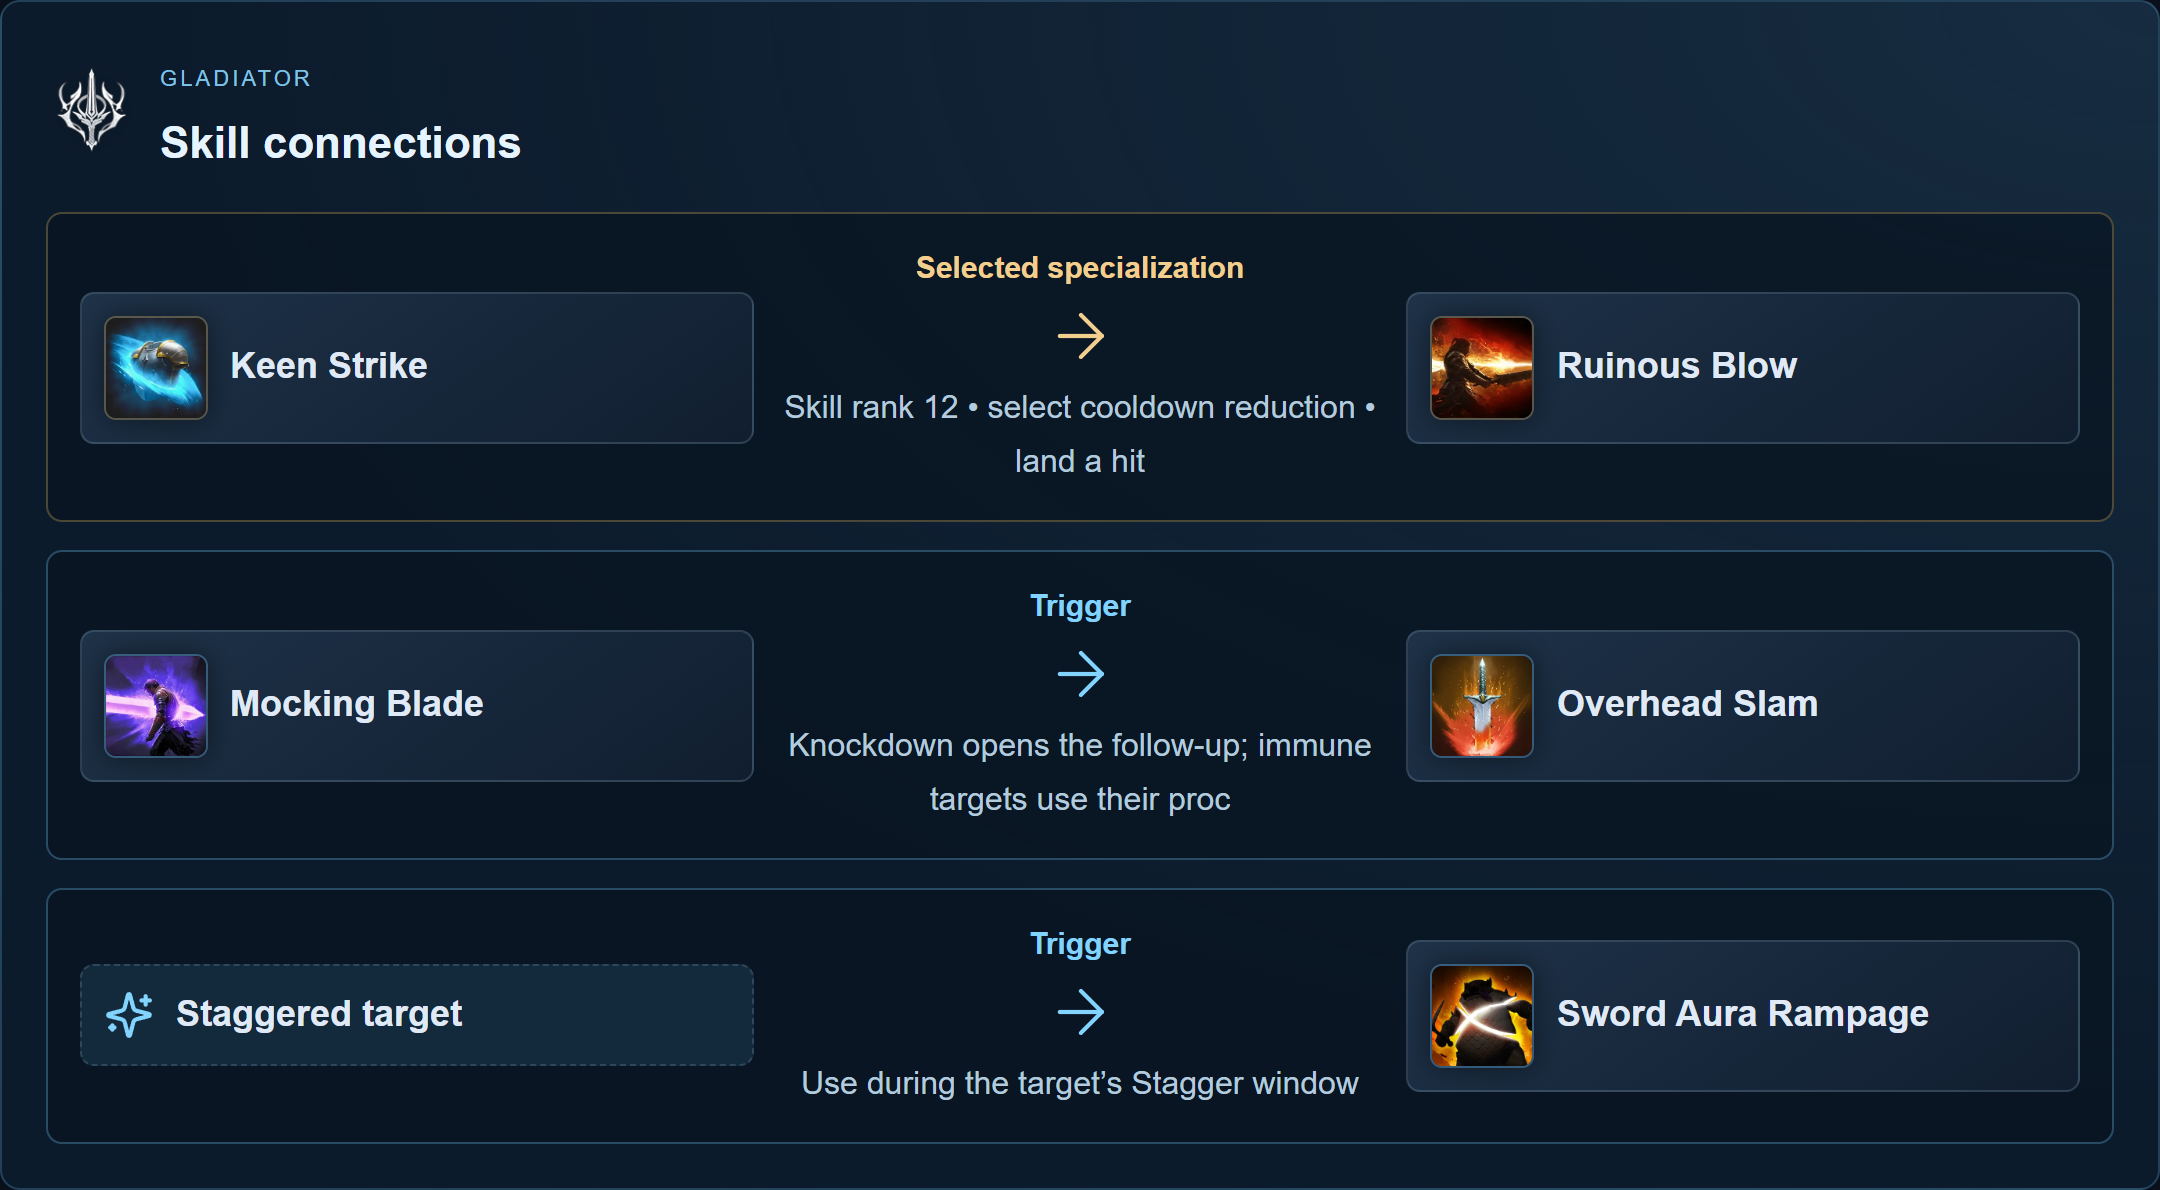
Follow the arrow to see what opens or improves the next skill. Select a skill for its full explanation.
Skill rank 12 • select cooldown reduction • land a hit
| Skill | Use and trigger |
|---|---|
 Keen Strike Keen Strike | Keen Strike restores MP and builds threat. Its rank-12 cooldown option feeds Ruinous Blow. |
 Rending Blow Rending Blow | Rending Blow hits nearby enemies. Choose reduced MP cost for sustain or the mobility option for movement. |
 Leaping Slam Leaping Slam | Leaping Slam closes distance. Its on-kill reset is useful between small-enemy pulls. |
 Mocking Blade Mocking Blade | Mocking Blade knocks down vulnerable enemies and opens knockdown follow-ups. |
 Overhead Slam Overhead Slam | Overhead Slam requires Knockdown, or a proc against control-immune targets. Use it when the opportunity appears. |
 Sword Aura Rampage Sword Aura Rampage | Sword Aura Rampage requires Stagger. Save it for the stagger window; its movement and resource options change usability. |
 Ankle Slice Ankle Slice | Ankle Slice opens after Parry, or after Leaping Slam with its trigger option. It roots enemies; a specialization adds knockdown. |
 Crushing Wave Crushing Wave | Crushing Wave attacks around you. Choose HP absorption for recovery; its critical reset requires the selected option. |
 Rush Strike Rush Strike | Rush Strike approaches after Dodge or while flying. Keep it separate from attacks when movement is situational. |
 Aerial Snare Aerial Snare | Aerial Snare follows Knockdown, with a proc against control-immune targets. Its immunity-damage option suits those targets. |
 Ruinous Blow Ruinous Blow | Ruinous Blow approaches and grants Prepare for Battle. Use its damage buff before your main attack window. |
 Defiance Defiance | Removes Stun, Knockdown, Airborne, Grab, Frost and Fear, then grants status immunity for 5s. Cooldown reduction does not affect it; keep this control break manual. |
Early skill and passive priorities
Keen Strike restores MP; its rank-8 MP option improves sustain, while rank 12 shortens Ruinous Blow on hit. Rending Blow's cost reduction helps repeated area attacks. Ruinous Blow grants Prepare for Battle: use its buff before the skills it improves.
Crushing Wave offers HP recovery or MP recovery on critical hits among its rank-8 choices. Overhead Slam's rank-12 guaranteed critical option and rank-16 cooldown removal change its follow-up window. Pick the effects you need rather than assuming every specialization is active.
Blood Absorption heals on landed attacks and provides an emergency heal at low HP; it does not require a front attack. Attack Preparation improves damage, accuracy and defense. Experienced Counterstrike adds front-attack damage and a party buff after Block; that party damage effect does not stack with Templar's Fury. Murderous Burst rewards maintaining attacks until its five stacks discharge.
Choose Stigmas for the encounter
| Choice | Use and condition |
|---|---|
| Lunge Stance / Zikel’s Blessing | Combat speed / attack and accuracy. Activate for a window in which you can keep attacking. |
| Rage Burst | Damage, an enemy attack debuff and an Overhead Slam trigger. Its attack reduction overlaps Templar Taunt. |
| Blade Toss | Ranged damage with defense and incoming-healing reduction. Useful before continued pressure. |
| Focused Block | Timed protection with guaranteed Parry and resource recovery. Keep it manual when tanking. |
| Lifestealing Blade | Damage with HP absorption. Exchange a damage slot for it when recovery limits continued attacks. |
| Tenaciousness | Brief immunity followed by tolerance. Certain powerful attacks bypass it; use encounter positioning as well. |
Manual opener and combat loop
- Activate equipped Lunge Stance or Zikel’s Blessing before a safe attack window; approach with Ruinous Blow or Leaping Slam.
- Use Rage Burst when equipped, then available Overhead Slam. Continue Keen Strike and Rending Blow between ready attacks.
- Use Crushing Wave for the selected damage or recovery effect. Ankle Slice follows Parry or a selected Leaping Slam trigger; Aerial Snare requires its knockdown or immunity trigger.
- During Stagger use Sword Aura Rampage. Interrupt damage for Focused Block, movement or Defiance; do not spend protection merely because it is next in a chain.
Gear and Daevanion decisions
If misses break attack-based recovery or cooldown reduction, improve accuracy first. Compare attack, critical effects and combat speed after the loop works. Choose Daevanion destinations for Keen Strike, Ruinous Blow and the follow-ups you actually use; a new skill-rank threshold is useful only with its option selected.
For solo pulls, retain MP and HP recovery. For party damage, take offense once recovery is reliable; for tanking, preserve survival and front-attack/block benefits. Save each version in the builds checklist before reallocating.
Adjustments and troubleshooting
Overhead Slam is unavailable: it needs a knocked-down target, an immunity-target proc or Rage Burst's trigger. It is not an unconditional attack.
MP empties during pulls: choose Keen Strike's MP option or lower Rending Blow's cost before adding another repeated attack.
The party dies while you survive: inspect enemy facing and attack timing, not just your HP. Focused Block protects your response; it does not make the boss safe behind you.
For PvP, keep Defiance, approach and control reachable. An enemy who escapes the attack window changes the next action; shorten the chain rather than spending every buff into empty space.
Complete skill list
Learning a Stigma skill does not add an equipped slot. Upgrades use their respective skill or Stigma points; select specializations separately after unlocking them.
Active skills (12)
| Skill | Character level required |
|---|---|
| Keen Strike | 1 |
| Rending Blow | 1 |
| Leaping Slam | 1 |
| Mocking Blade | 3 |
| Overhead Slam | 4 |
| Sword Aura Rampage | 5 |
| Ankle Slice | 7 |
| Crushing Wave | 8 |
| Rush Strike | 10 |
| Aerial Snare | 12 |
| Ruinous Blow | 14 |
| Defiance | 16 |
Passive skills (10)
| Skill | Character level required |
|---|---|
 Survival Stance Survival Stance | 1 |
 Protection Armor Protection Armor | 6 |
 Blood Absorption Blood Absorption | 9 |
 Identify Weakness Identify Weakness | 11 |
 Attack Preparation Attack Preparation | 13 |
 Impact Hit Impact Hit | 15 |
 Destructive Impulse Destructive Impulse | 17 |
 Experienced Counterstrike Experienced Counterstrike | 21 |
 Survival Willpower Survival Willpower | 23 |
 Murderous Burst Murderous Burst | 25 |
Stigma skills (13)
| Skill | Character level required |
|---|---|
 Wrath Wave Wrath Wave | 22 |
 Lunge Stance Lunge Stance | 22 |
 Zikel's Blessing Zikel's Blessing | 22 |
 Focused Block Focused Block | 22 |
 Armor of Balance Armor of Balance | 22 |
 Blade Toss Blade Toss | 22 |
 Tenaciousness Tenaciousness | 22 |
 Lifestealing Blade Lifestealing Blade | 22 |
 Rage Burst Rage Burst | 22 |
 Wave Armor Wave Armor | 22 |
 Forced Restraint Forced Restraint | 22 |
 Assault Strike Assault Strike | 22 |
 Fracturing Rush Fracturing Rush | 22 |